

You look up at your roof. Those shingles look bumpy or lifted.
Nine times out of ten, you’re seeing nail pops. They need your attention now.
I’ve fixed hundreds of roofs in 15 years. When homeowners ignore nail pops, they turn into roof leaks and water damage. That gets expensive fast.
Good news: you can fix this before it gets worse.
This guide shows you what nail pops are, why they happen, and how to fix them. You’ll get simple steps that work. I’ll tell you when to DIY and when to call a pro.
No jargon. Just real solutions.
What Are Roof Nail Pops?
Nail pops are exactly what they sound like. Nails that push up through your shingles. Every asphalt shingle uses 4 to 6 ring shank nails. These special nails have rings that grip wood. When nails start pushing upward through shingles, that’s a nail pop problem.
Basic Definition
Ring shank nails hold your shingles down with small rings around the nail shaft. The nail head sits flat against the shingle, creating a waterproof seal.
But moisture gets around nail holes over time. This causes nails to work loose and push upward through your roof.
The Science Behind Nail Pops
Water finds its way around nail holes. Two things happen when moisture gets in. Wet wood swells up and pushes nails upward.
The nail rings also rust away, making the nails smooth. Without rings, nails slip out easily and pop through the shingle above.
Where Nail Pops Happen
Most nail pops show up on regular shingles. But I find them on metal flashing around chimneys, roof vents, pipe boots, and ridge caps, too. The location doesn’t change how you fix them. Same problem, same solution, no matter where they appear.
How to Spot Nail Pops on Your Roof?
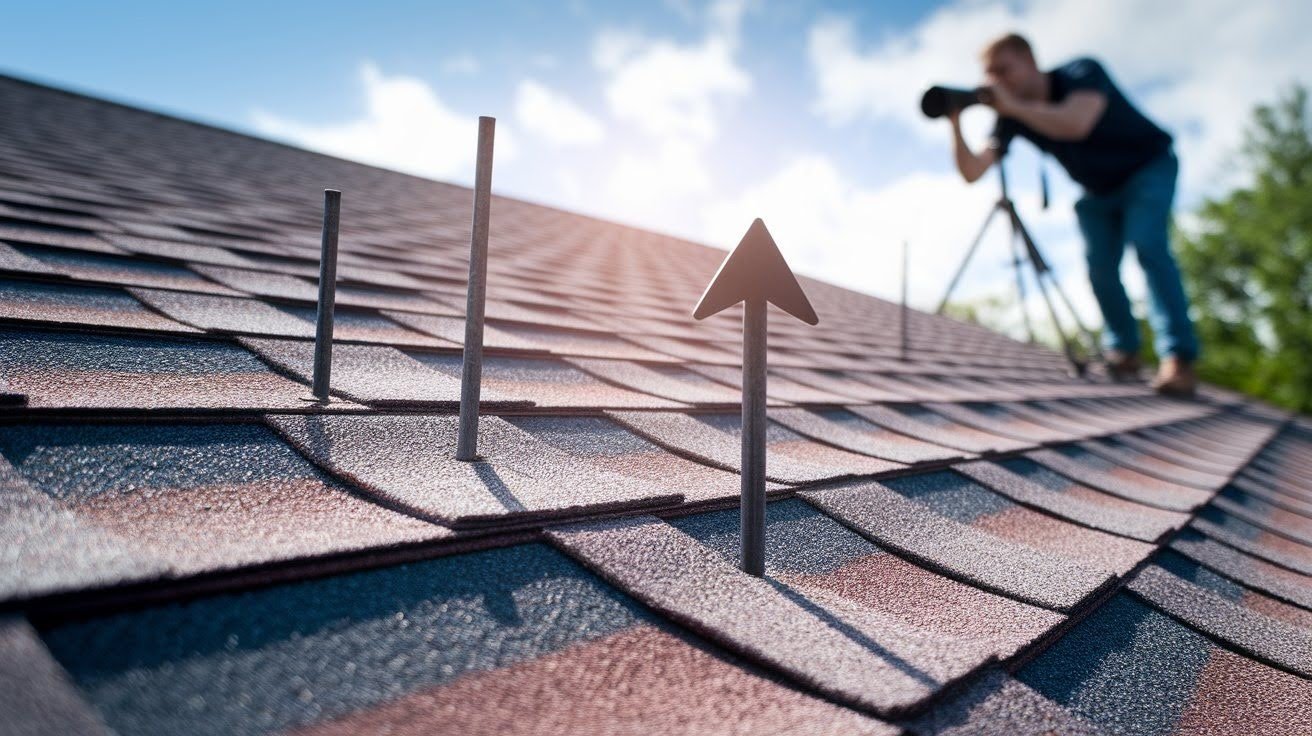
You don’t need to climb on your roof to spot most nail pops. I can usually see them from the ground. Walk around your house and look for bumpy shingles, lifted edges, dark spots, or uneven lines where rows should be straight.
Signs to Look For
Look for bumpy shingles that stick up higher than others. Check for lifted edges where shingles don’t lie flat.
Watch for dark spots or discolored areas on your roof. Notice uneven lines where shingle rows should be straight. Trust your gut instincts.
Safety Note
Looking is fine, climbing is risky. You can spot problems from the ground safely. Call a professional if you see multiple nail pops.
One or two you might handle yourself. More than that means it’s time to make a phone call for help.
How to Fix Nail Pops Step-by-Step?
Before you grab your hammer, let’s talk safety. I’ve seen too many people get hurt rushing into roof work. Your safety matters more than fixing nail pops quickly. Plan the repair properly and use the right tools for lasting results.
Safety First
Check your ladder twice before climbing. Wear rubber-soled boots for better grip. Only work in dry, calm weather with no wind or rain.
Have someone hold the ladder below. Carry a cell phone in case something goes wrong during the repair. Pick the right day for roof work. Early morning works best when it’s cooler.
Never rush roof repairs. Take your time and test each step. Hot afternoons make shingles soft and slippery. Cool, dry conditions give you the best working surface.
Tools and Materials Needed
You don’t need expensive tools for nail pop repairs. Get a pry bar or claw hammer, new ring shank nails, roof sealant, and a putty knife.
If shingles are damaged, buy replacement shingles, a utility knife, and roofing cement. Don’t forget safety gear. Get ring shank nails, not regular smooth ones.
They grip wood better and won’t work loose. Use 1¼ inch minimum length. Wear non-slip boots, work gloves, and safety glasses. Don’t use random nails from your junk drawer for roof repairs.
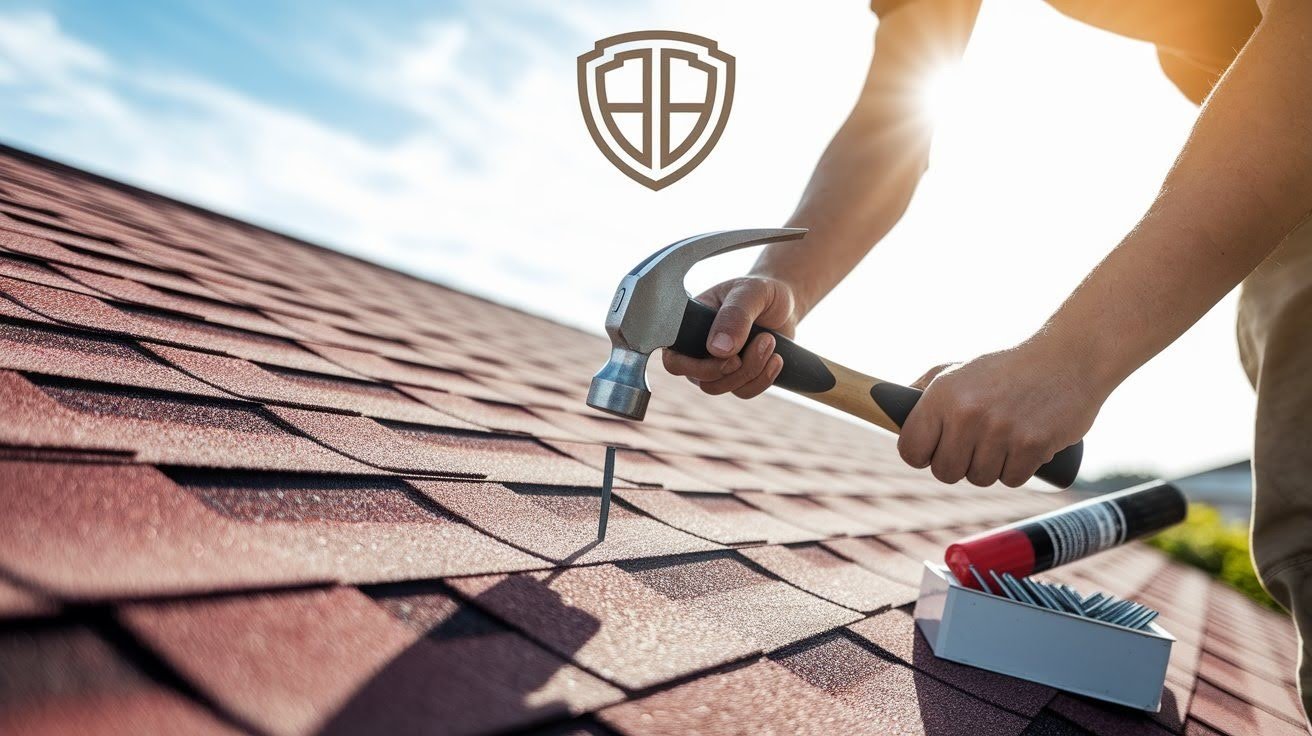
Step-by-Step Repair Process
Every nail pop repair follows the same basic steps. Remove the old nail, seal the hole, and install a new nail. The details matter for lasting repairs. Do it right the first time.
Shortcuts lead to more problems later on. Work slowly and double-check each step. Rushing leads to mistakes, and mistakes lead to more leaks.
Take photos before you start so you remember how everything looked. This helps you put things back together correctly when you’re done.
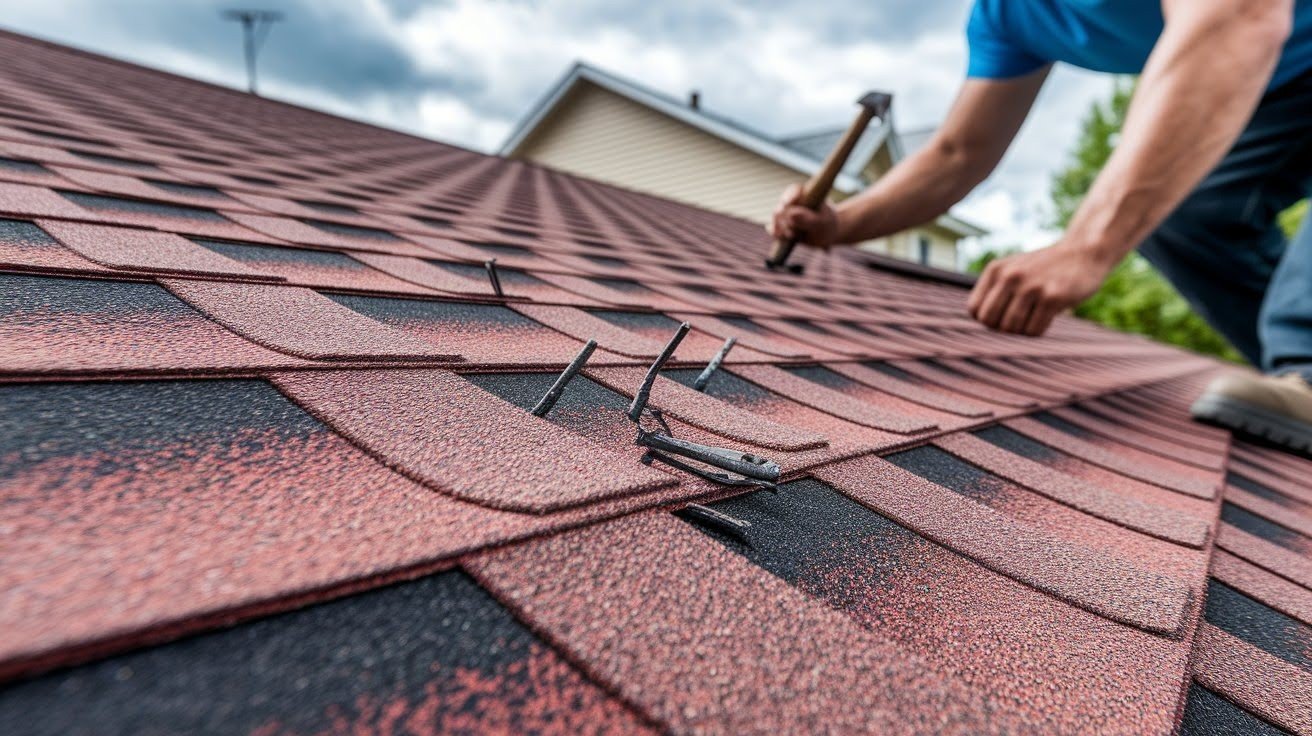
For Nails That Have Pushed Through
These are the obvious ones with nail heads poking through shingles. Climb safely onto your roof. Pry up the popped nail and remove the broken shingle.
Pull out the old nail completely. Seal the old hole with roofing cement. Install a new shingle one inch away.
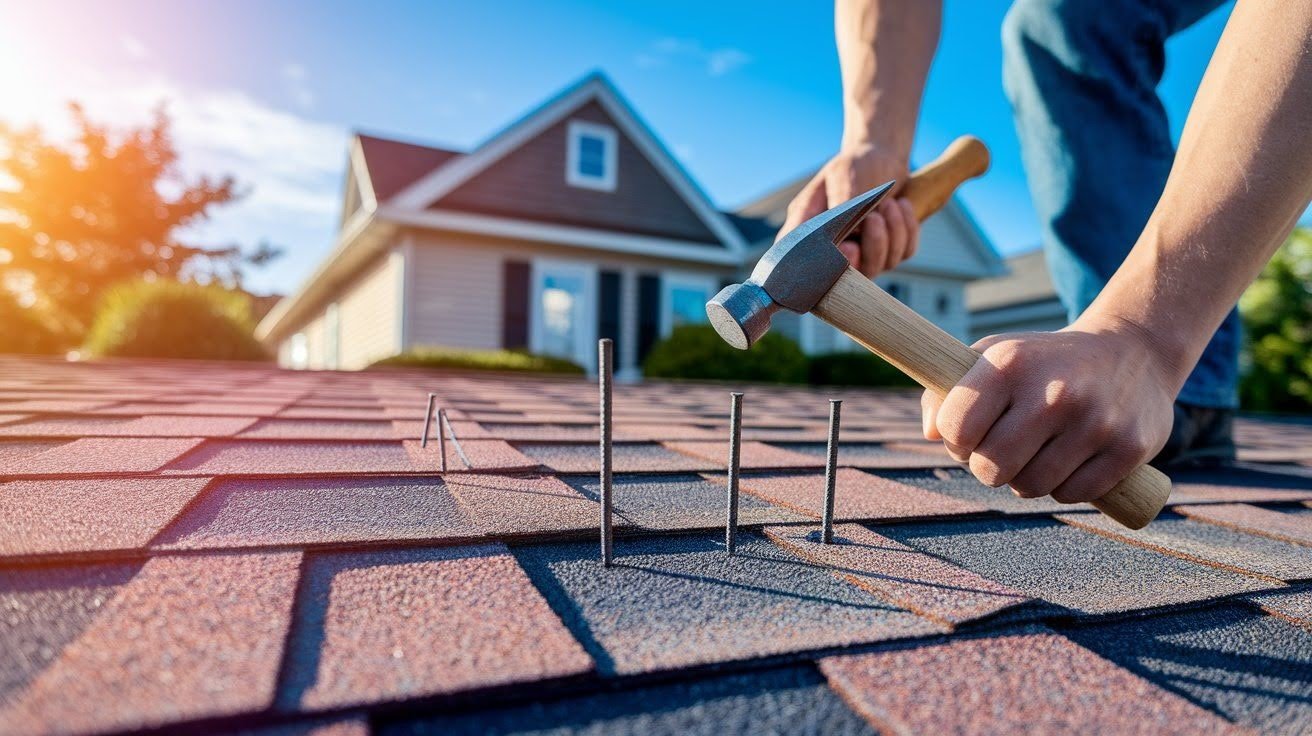
For Nails That Haven’t Pushed Through Yet
These are easier to fix if caught early. Lift the shingle carefully without bending it too much. Hammer the rising nail back down straight, not angled.
Drive a new nail nearby, about one inch away. Make sure the new nail hits solid wood underneath.
For Problems with Caulking
Old caulk fails and lets water in around nails and flashing. Pry up exposed nails and get them completely out. Scrape away all old, cracked caulk until clean.
Install new flashing if needed. Seal over all nail heads with quality roof sealant for lasting protection.
What NOT to Do?
Never put caulk over exposed nails. It looks like a fix, but the sun will crack that caulk in six months. Don’t ignore nail pops hoping they’ll fix themselves.
They only get worse, and water damage gets expensive fast. Avoid quick temporary fixes.
When to Call a Professional?

Some nail pop repairs are perfect for DIY work. Others need professional help from experienced roofers. Simple nail pops on easy-to-reach areas most homeowners can handle. Complex problems with multiple issues need professional skills and tools for proper repair.
DIY vs. Professional Work
Here’s my rule: if you’re not completely confident, call someone. Roof work is dangerous, and a small repair bill beats a big hospital bill.
Simple repairs on safe, accessible areas work for DIY. Multiple problems or safety concerns need professional help.
Signs You Need Professional Help
Don’t try to be a hero with complex roof problems. More than 5 nail pops suggest bigger structural issues. Rotten or soft wood around nail holes means deck problems. Multiple damaged shingles in one area indicate installation problems needing professional diagnosis.
What Professionals Do Differently?
We see problems you might miss from years of experience. Professional roofers check the whole roof system, including the structure underneath, ventilation problems, and patterns that reveal bigger issues.
We also have better tools, safety equipment, and provide warranties on repair work.
How to Stop Nail Pops from Happening Again?
Prevention beats repair every time. I’d rather help you avoid nail pops than fix them later. Regular maintenance catches small problems before they become expensive repairs. Check your roof annually and get professional tune-ups every 8-10 years for best results.
Regular Roof Maintenance
Check your roof once a year from the ground using binoculars if needed. Look for changes from last year, like loose or damaged shingles. Fix small issues fast because one loose shingle becomes five in a windstorm. Small problems always grow into expensive ones.
Choosing the Right Contractor
Not all roofers do quality work. Look for local companies with their own trained crews, not door-to-door salespeople. Check that workers are insured and ask who actually does the work. Good roofers welcome questions about their nail patterns and materials used.
Proper Installation Standards
Learn what good roofing looks like by reading manufacturer installation guides before hiring anyone. Good roofers welcome your questions while bad ones get defensive. Quality installation prevents most nail pops. Cheap work costs more money in the long run.
Attic Ventilation Maintenance
Hot, humid attics cause nail pops because wood swells and shrinks, pushing nails out. Check soffit vents twice yearly to ensure they’re not blocked. Ridge vents or attic fans must work properly, too. Balance is key with equal air flow in and out.
Conclusion
You now know exactly how to handle nail pops on the roof problems. The bumpy shingles you spotted aren’t scary anymore. They’re just nails that need fixing.
Remember the key steps: Remove the old nail, seal the hole, and install a new nail one inch away. For safety, work on dry days with proper boots and a stable ladder.
Most homeowners can fix simple nail pops themselves. Multiple problems mean it’s time to call a professional. Either way, you’re protecting your home from water damage.
What questions do you have about your roof? Share your nail pop stories in the comments below. Your experience might help another homeowner avoid expensive repairs.
Stay safe up there.
Frequently Asked Questions: Nail Pops on Roof
What are nail pops on the roof exactly?
Nail pops are nails that push up through your shingles. Every shingle uses 4-6 ring shank nails to stay attached. When moisture gets around these nails, the wood swells and pushes them upward. You’ll see bumpy or lifted shingles from the ground.
Can I ignore nail pops on my roof?
Never ignore nail pops on the roof. They create entry points for water that lead to leaks and interior damage. One nail pop becomes multiple problems during storms. Small repairs now prevent expensive water damage later. Fix them as soon as you notice them.
How much does it cost to fix nail pops on the roof?
Simple DIY nail pop repairs cost $10-30 in materials. Professional repairs range from $150-400, depending on location and damage extent. Multiple nail pops or structural issues cost more. Prevention through regular maintenance saves money compared to major leak repairs later.
Can I fix nail pops on the roof myself?
Yes, homeowners can fix simple nail pops safely. You need basic tools, ring shank nails, roof sealant, and dry weather. Work on stable ladders with non-slip boots. Call professionals for multiple nail pops, safety concerns, or damaged roof decking underneath.
What causes nail pops on the roof to happen?
Most nail pops come from poor installation practices. Wrong nail types, crooked nailing, short nails, or damaged roof decking cause problems. Temperature changes and moisture make wood expand, pushing nails up. Poor attic ventilation creates humid conditions that worsen the issue over time.