

Ever started an air-dry clay project only to watch it crack and fall apart? Air-dry clay is perfect for home crafting because it needs no kiln, costs under $5, and works for all ages.
This guide covers proper conditioning, attachment methods, and finishing techniques. You’ll learn why pieces break and how to prevent common problems.
We’ll solve your biggest clay frustrations with proven techniques. Most breakage comes from poor prep work or skipping key steps.
I’ve tested these methods through years of clay crafting. I know which shortcuts work and which lead to broken projects.
By the end, you’ll create durable pieces that last. No more cracking or falling apart.
What is Air Dry Clay?
Air-dry clay is a fine, natural earth clay that hardens without any baking or firing. You don’t need a kiln, oven, or special equipment.
Just let it sit in the air, and it becomes hard. This makes it perfect for home crafting with kids and adults at any skill level.
11 Fun Projects You Can Make Right Now
Try these simple, hands-on projects to spark creativity and enjoy crafting immediately.
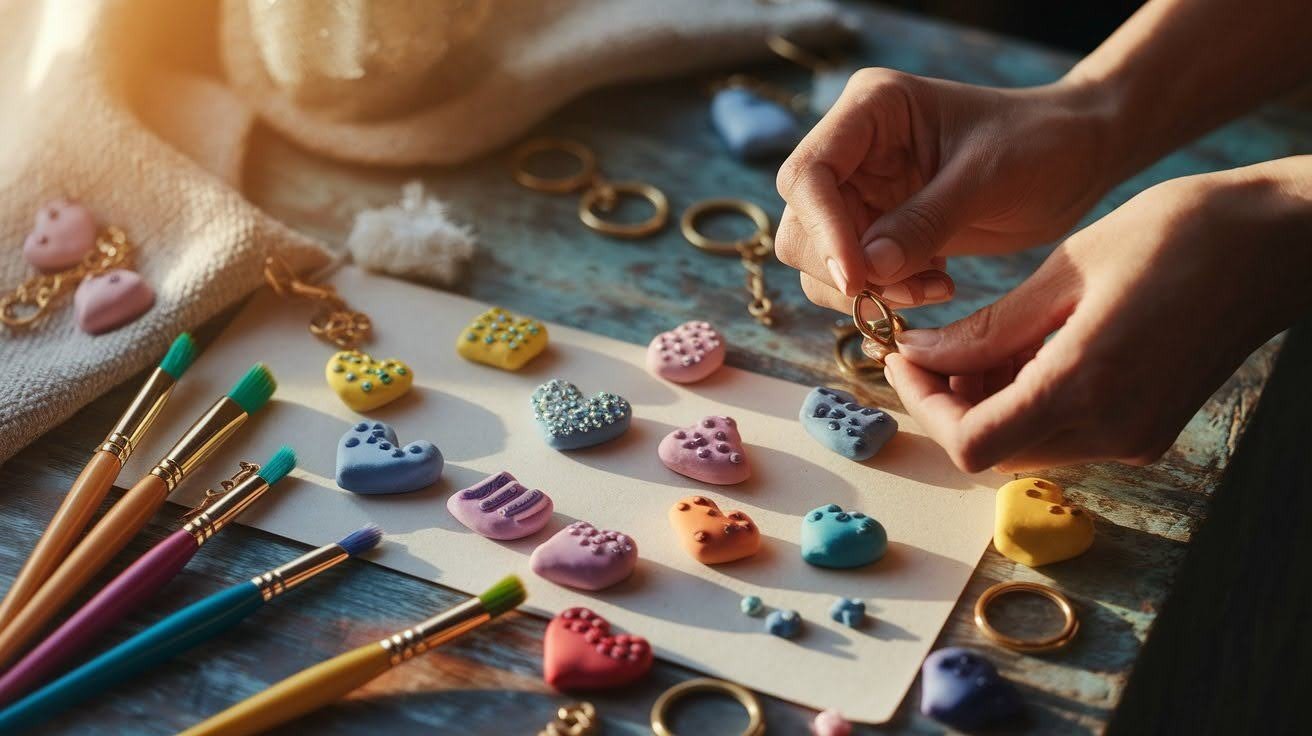
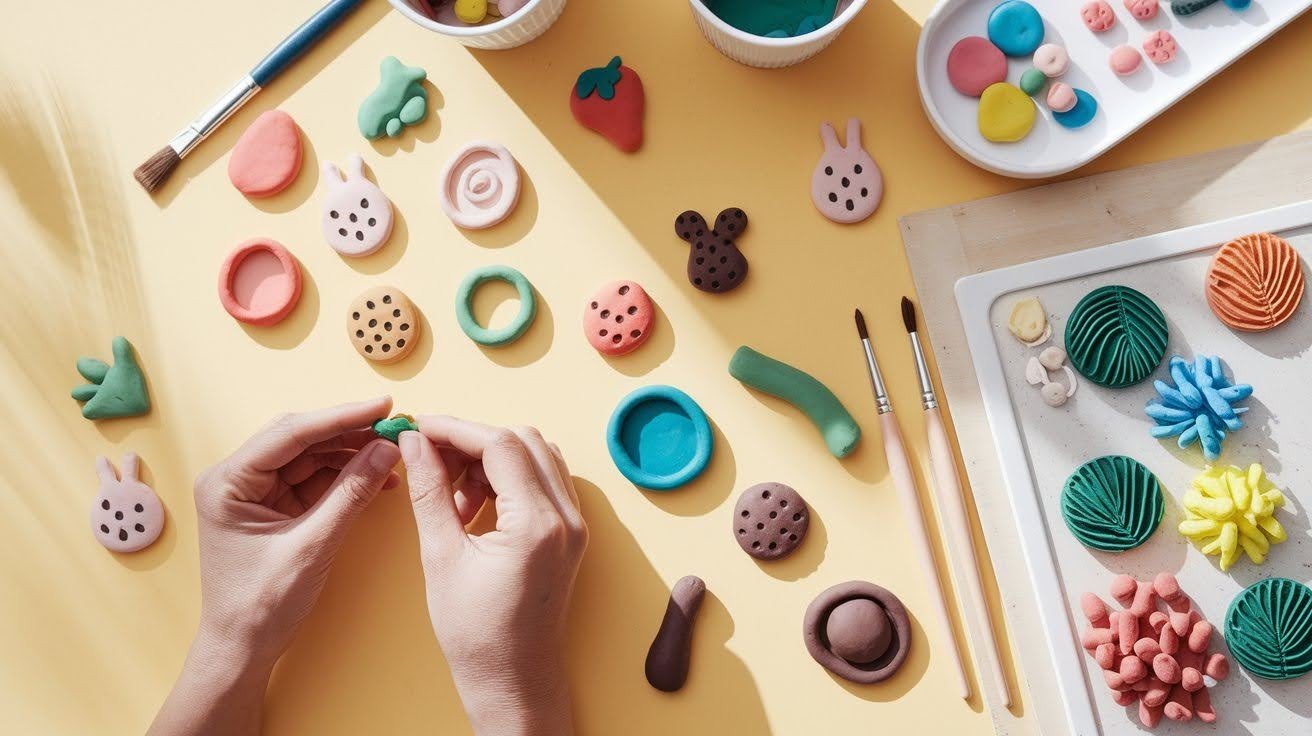
Make Your Own Jewelry
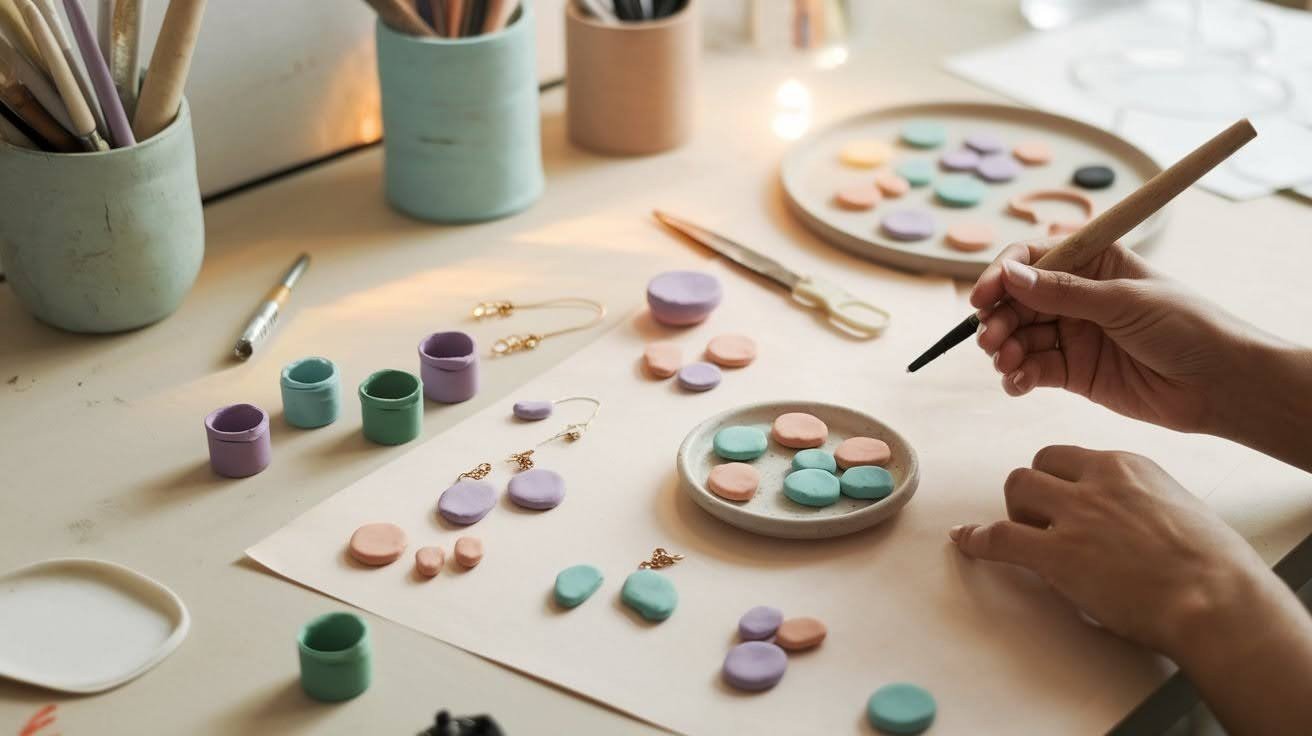
Create custom beads, pendants, and charms that dry quickly without cracking. Roll small balls for beads or flatten pieces for unique pendants.
Resin-based clay gives your jewelry a nice weight and feel that lasts longer than other types. Use toothpicks to make holes while wet.
Let pieces dry completely before stringing them together for necklaces or bracelets.
Build Small Storage Bowls
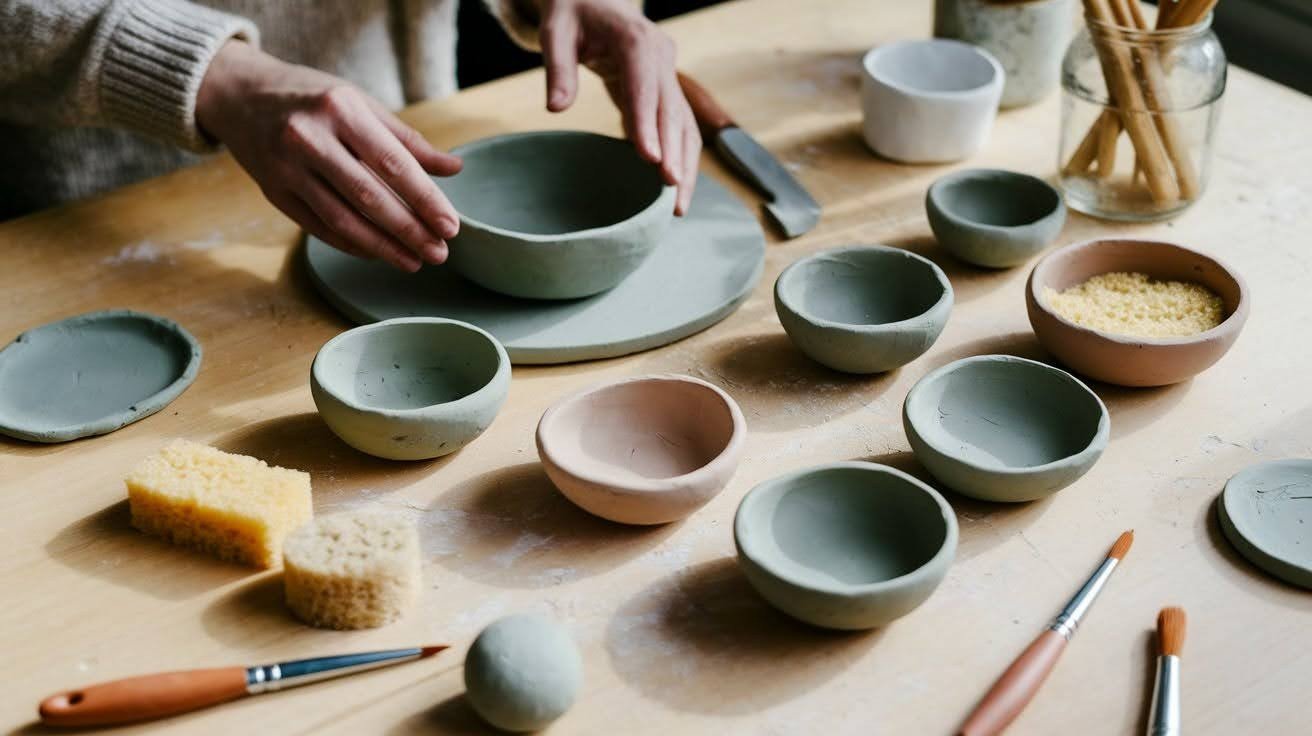
Start with simple pinch pots or coil bowls to hold keys, coins, or small items. These teach you basic pottery skills without needing special equipment.
Remember to make the bottom wide and flat so your bowl won’t tip over. Press your thumb into a clay ball and pinch the walls up slowly.
Keep walls of even thickness to prevent cracking during drying.
Create Holiday Decorations
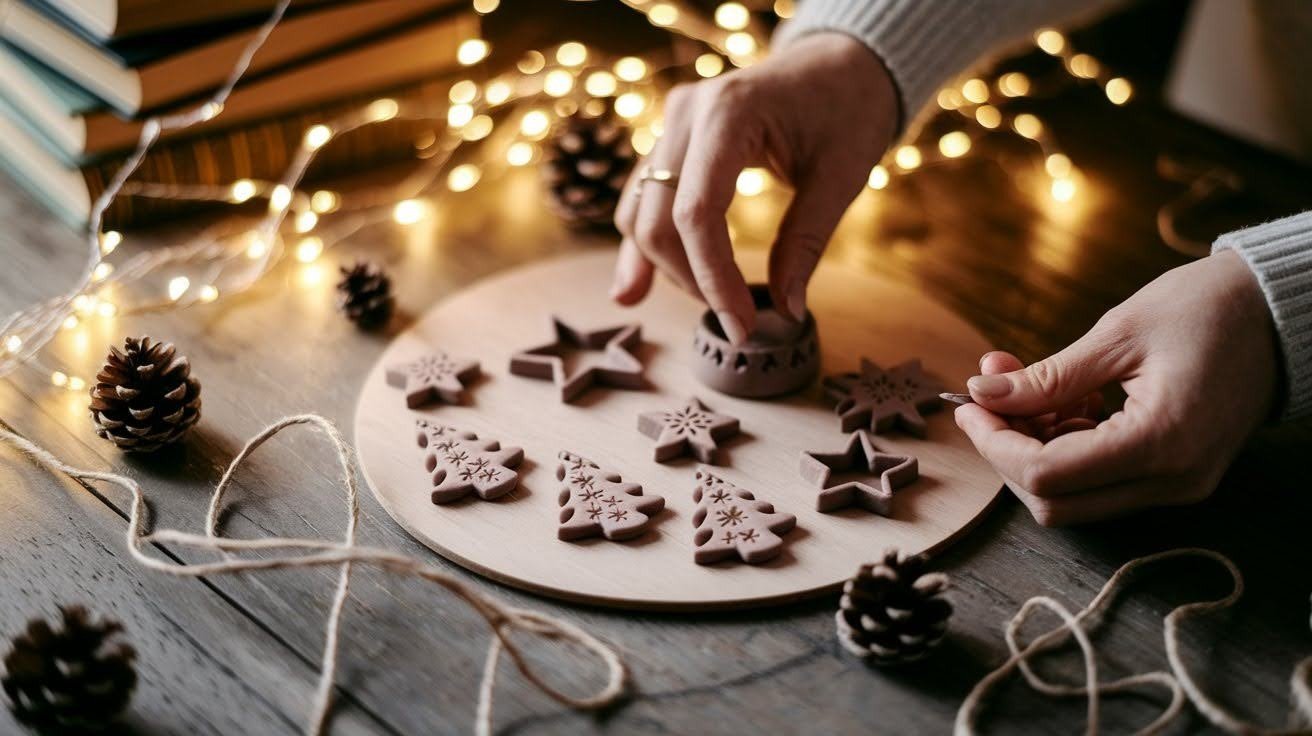
Make Christmas ornaments, Halloween figures, or seasonal decorations that hold fine details. Air-dry clay takes paint well, so you can make colorful decorations that last for years.
These make great gifts for family and friends. Add holes for hanging while the clay is wet. Use cookie cutters for simple shapes or hand-form detailed figures like snowmen or pumpkins.
Design Custom Napkin Rings
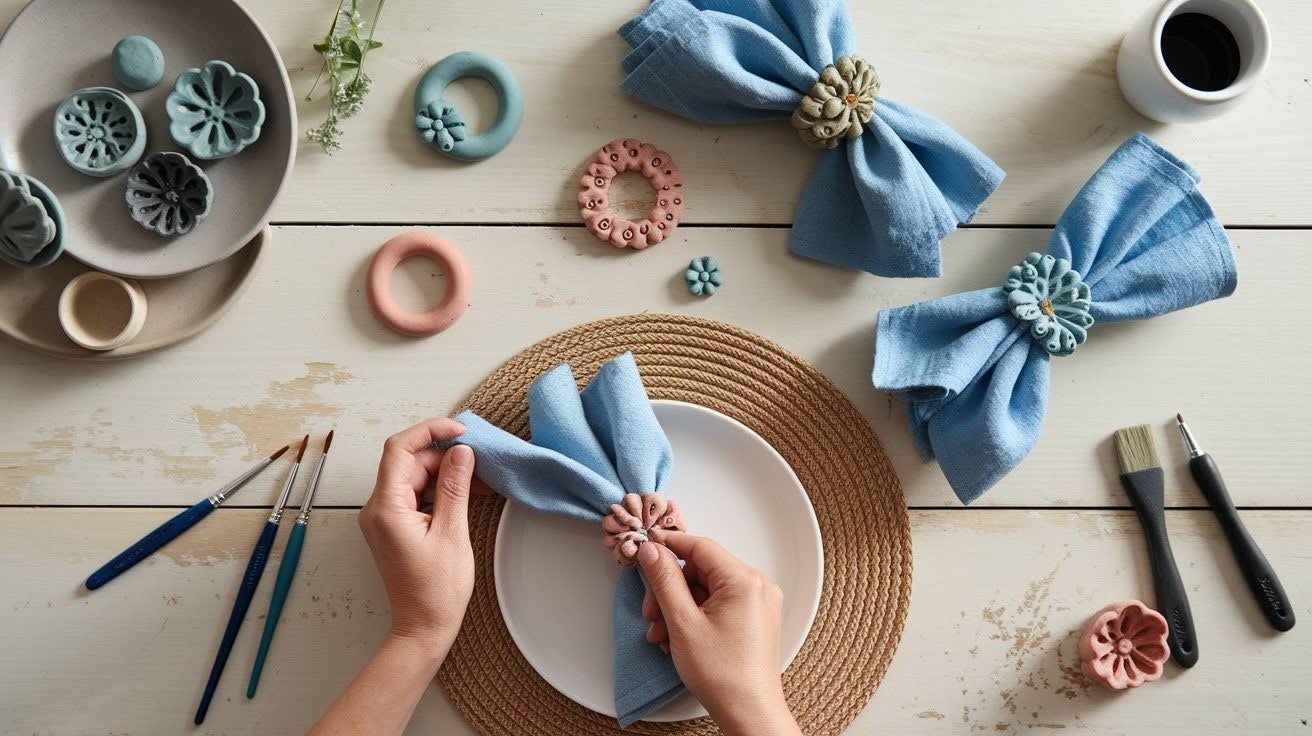
Roll clay into tubes and cut them to size for unique napkin rings. Add patterns by pressing objects into the wet clay, or paint them after they dry.
These add a personal touch to your dinner table. Make sure the opening is wide enough for folded napkins.
Try pressing shells, coins, or textured fabric into the surface for interesting designs.
Craft Tealight Holders

Make small containers that hold tea lights safely. Keep the walls thick enough to stay strong but thin enough for light to show through.
Always remember these are for decoration only since air-dry clay isn’t heat-proof. Create simple cylinder shapes or try more complex designs.
Test fit your tea lights before the clay dries to ensure proper sizing.
Form Plant Markers for Gardens
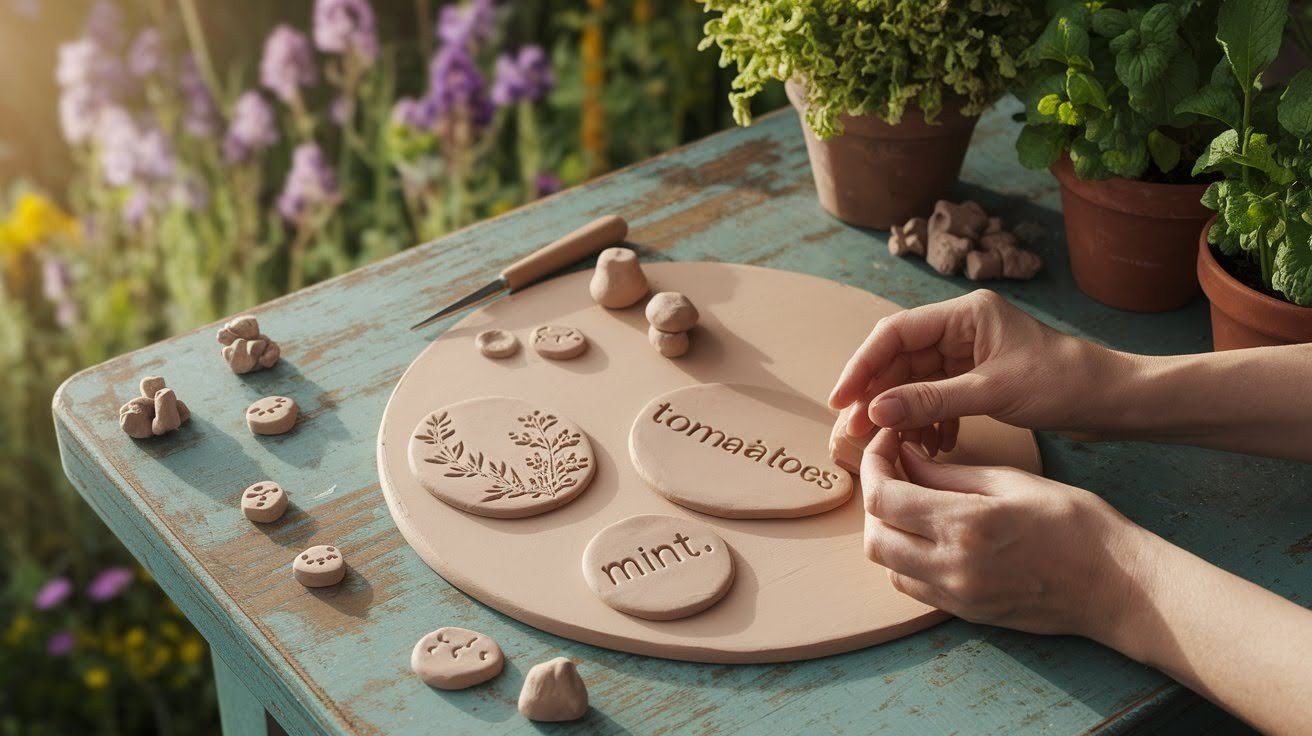
Create labels for your garden plants that won’t rot like wood markers. Write plant names with a toothpick while the clay is wet, or paint letters on after drying.
These help you remember what you planted where. Make them tall enough to see above young plants.
Consider making different shapes for different plant types, like vegetables, herbs, and flowers.
Build Miniature Houses or Castles
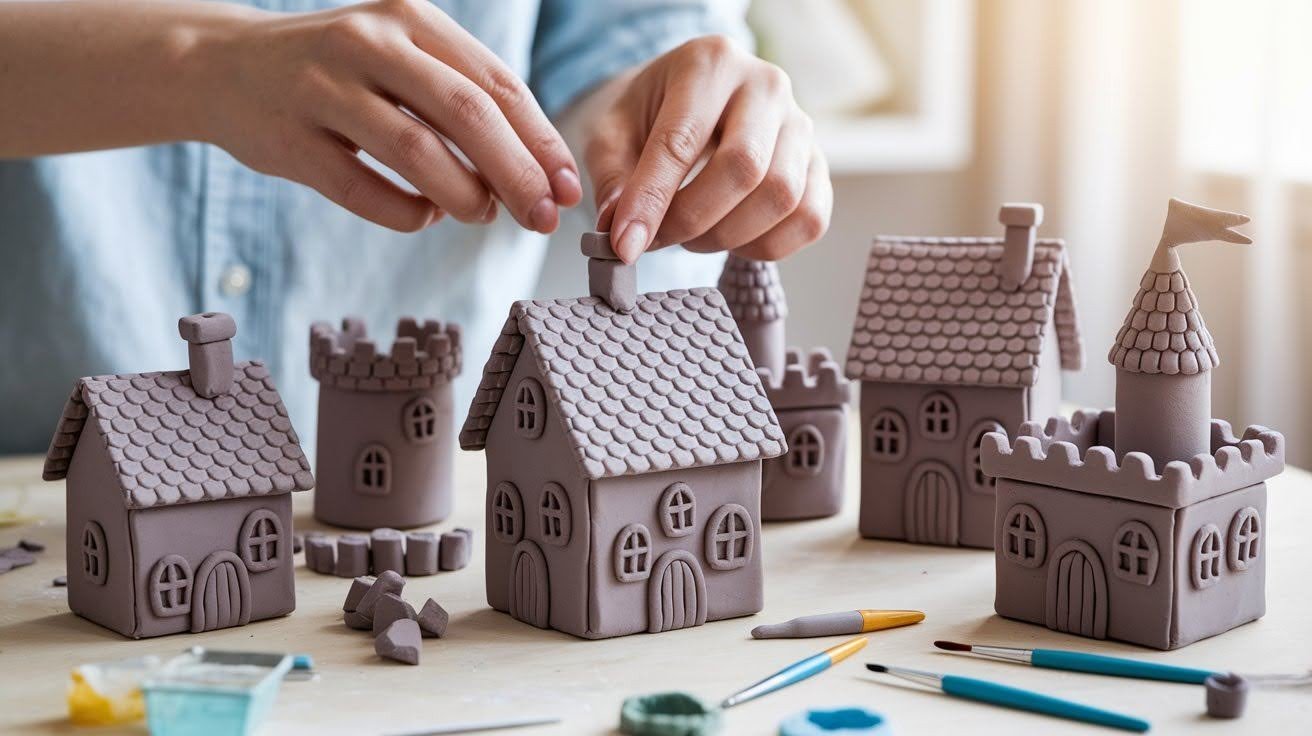
Start with simple box shapes and add details like windows and doors. Use the score and slip method to attach pieces, scratch both surfaces, add clay mixed with water, then smooth the joint.
This makes strong connections that won’t break apart. Plan your design first and work on flat surfaces. Add tiny details like roof tiles or brick patterns for a realistic look.
Make Custom Keychains
Roll clay flat and cut fun shapes with cookie cutters or knives. Don’t forget to poke holes for key rings before the clay dries.
Paint them with your favorite colors or leave them natural for a simple look. Make them about a quarter-inch thick for strength.
Try making matching sets for family members or create shapes that represent your hobbies and interests.
Create Textured Wall Art
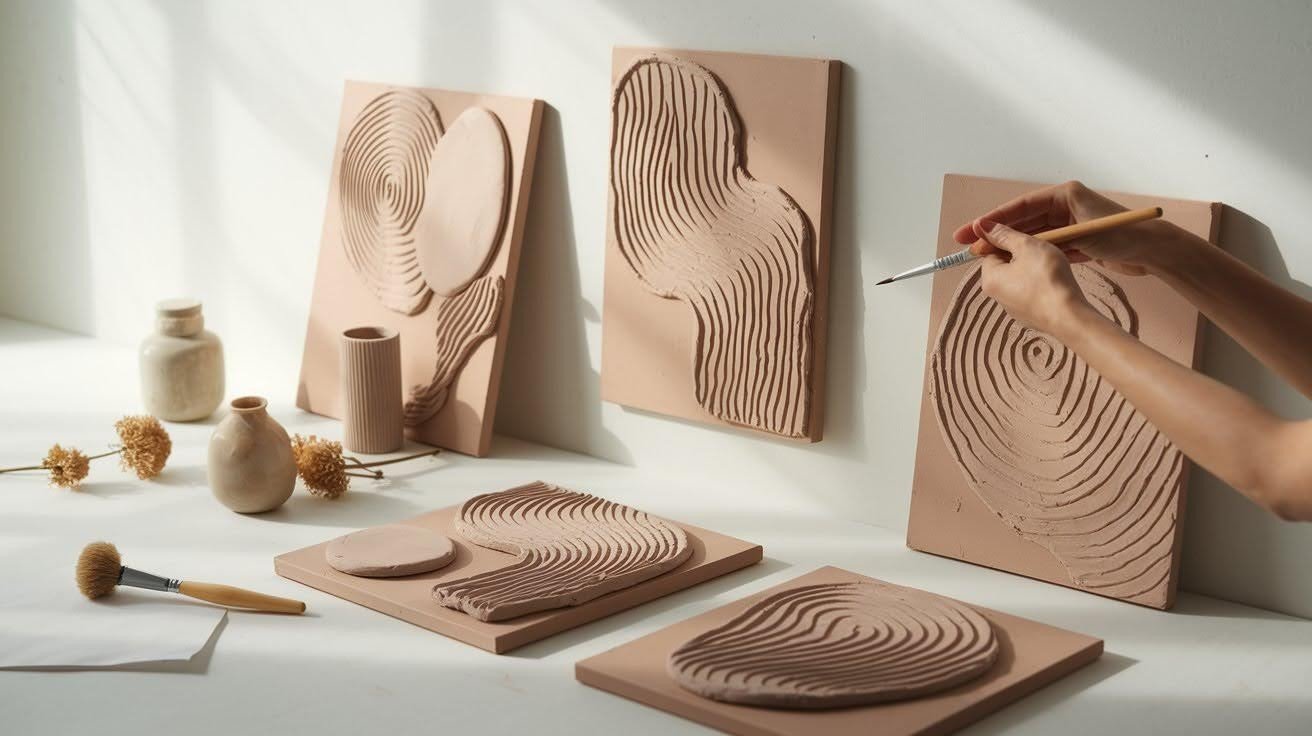
Roll clay flat and press leaves, fabric, or other objects into the surface to make interesting patterns. Let it dry completely, then paint or leave it natural.
These make unique art pieces for any room. Try different materials like lace, tree bark, or kitchen tools for varied textures.
Frame finished pieces or mount directly on walls for modern art displays.
Design Custom Magnets
Make small shapes and glue strong magnets to the back after drying. These work great for holding notes on your fridge or metal surfaces.
Keep them thin so they don’t get too heavy for the magnets to hold. Buy craft magnets from hobby stores for the best results.
Make seasonal sets or personal symbols that reflect your family’s personality and style preferences.
Build Simple Pencil Holders
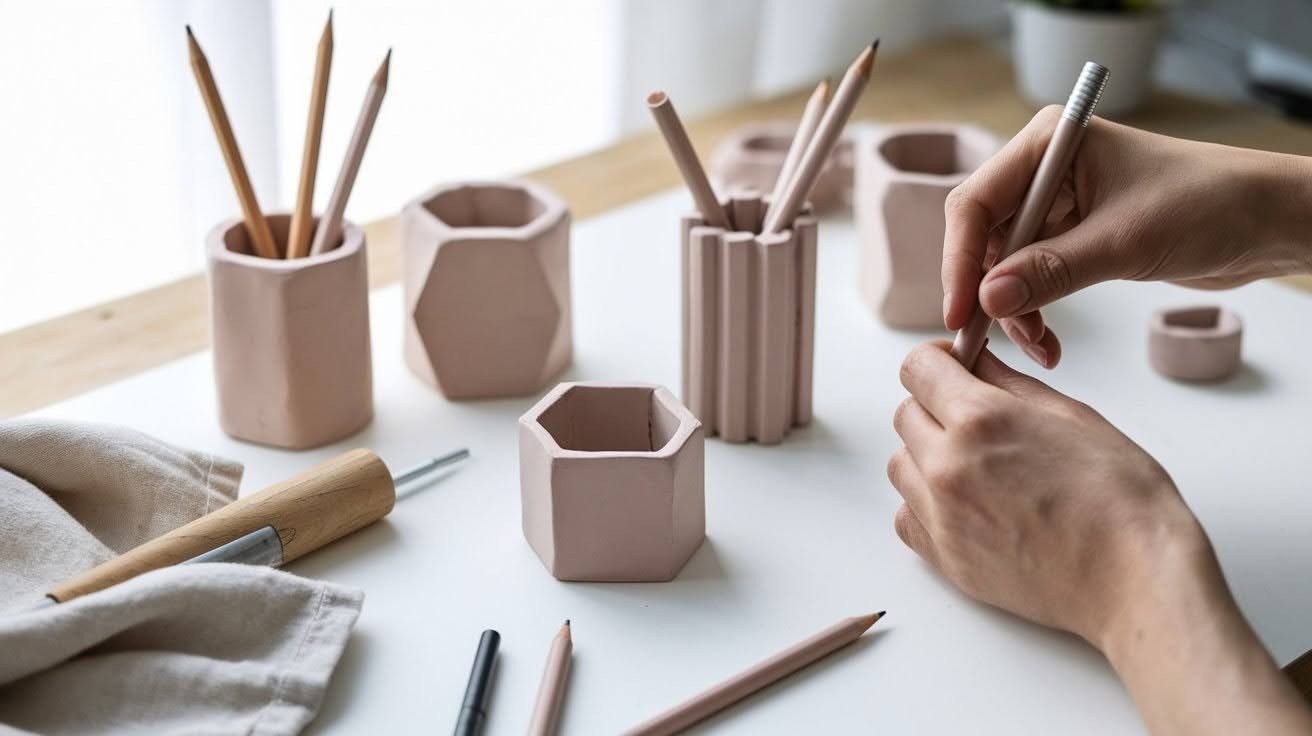
Create cylinders by rolling clay around a can or bottle, then remove the form. Make the base thick and heavy so it won’t tip over when full of pencils.
Add patterns or paint after drying for a custom desk accessory. Smooth the inside walls carefully and make sure the bottom is completely flat.
Consider making matching sets for office or classroom organization needs.
Advanced Tips from Experienced Users
These practical tips help improve your clay work, ensuring smoother finishes, stronger joints, and more polished results.
- Keep a bowl of water nearby while working to prevent premature drying
- Dip your fingers in water to smooth surfaces and fix small cracks
- Use pasta machines for perfectly smooth, even clay strips instead of rolling pins
- Clean machines thoroughly before and after clay use for best results
- Focus on smooth finishes, even thickness, and strong joints for a professional appearance
- Mix colors by blending different clays, starting with lighter shades first
- Start with simple projects and gradually increase complexity over time
- Build hand strength through regular practice sessions
Conclusion
Now you know how to use air-dry clay successfully without cracking and breakage. The key is proper conditioning, the score-slip-smooth method, and adequate drying time.
You have the techniques to create lasting pieces at home. These methods prevent common problems that ruin projects.
From my clay crafting experience, patience and proper technique make the difference. Follow these steps for professional-looking results.
Ready to start your clay project? Share your creations in the comments below.
Frequently Asked Questions
How long does air-dry clay take to dry completely?
Air-dry clay takes 24-72 hours to dry completely, depending on thickness. Thin pieces dry in 24 hours, while projects over 1cm thick need up to 72 hours. Cool, dry areas with low humidity speed up the process.
Why do my air-dry clay pieces keep breaking apart?
Pieces break because you’re not using the score-slip-smooth method. Score both surfaces with rough marks, apply clay-water slip, then smooth together. Simply pressing pieces together always fails when the clay dries.
Can I paint air-dry clay, and what paints work best?
Yes, you can paint completely dried air-dry clay. Tempera, acrylic, and watercolor paints all work well. Apply thin coats and let each layer dry completely before adding the next coat for best results.
How do I prevent air-dry clay from cracking while drying?
Prevent cracks by avoiding thin areas (keep clay at least quarter-inch thick), working in cool dry conditions, and using slip to fill small cracks that appear. Don’t rush the drying process with fans or heat.
Is air-dry clay waterproof after it dries?
No, air-dry clay is never truly waterproof and breaks down in water. You can make it water-resistant with sealers like Mod Podge, but it’s only suitable for decorative purposes, not functional items that contact water.